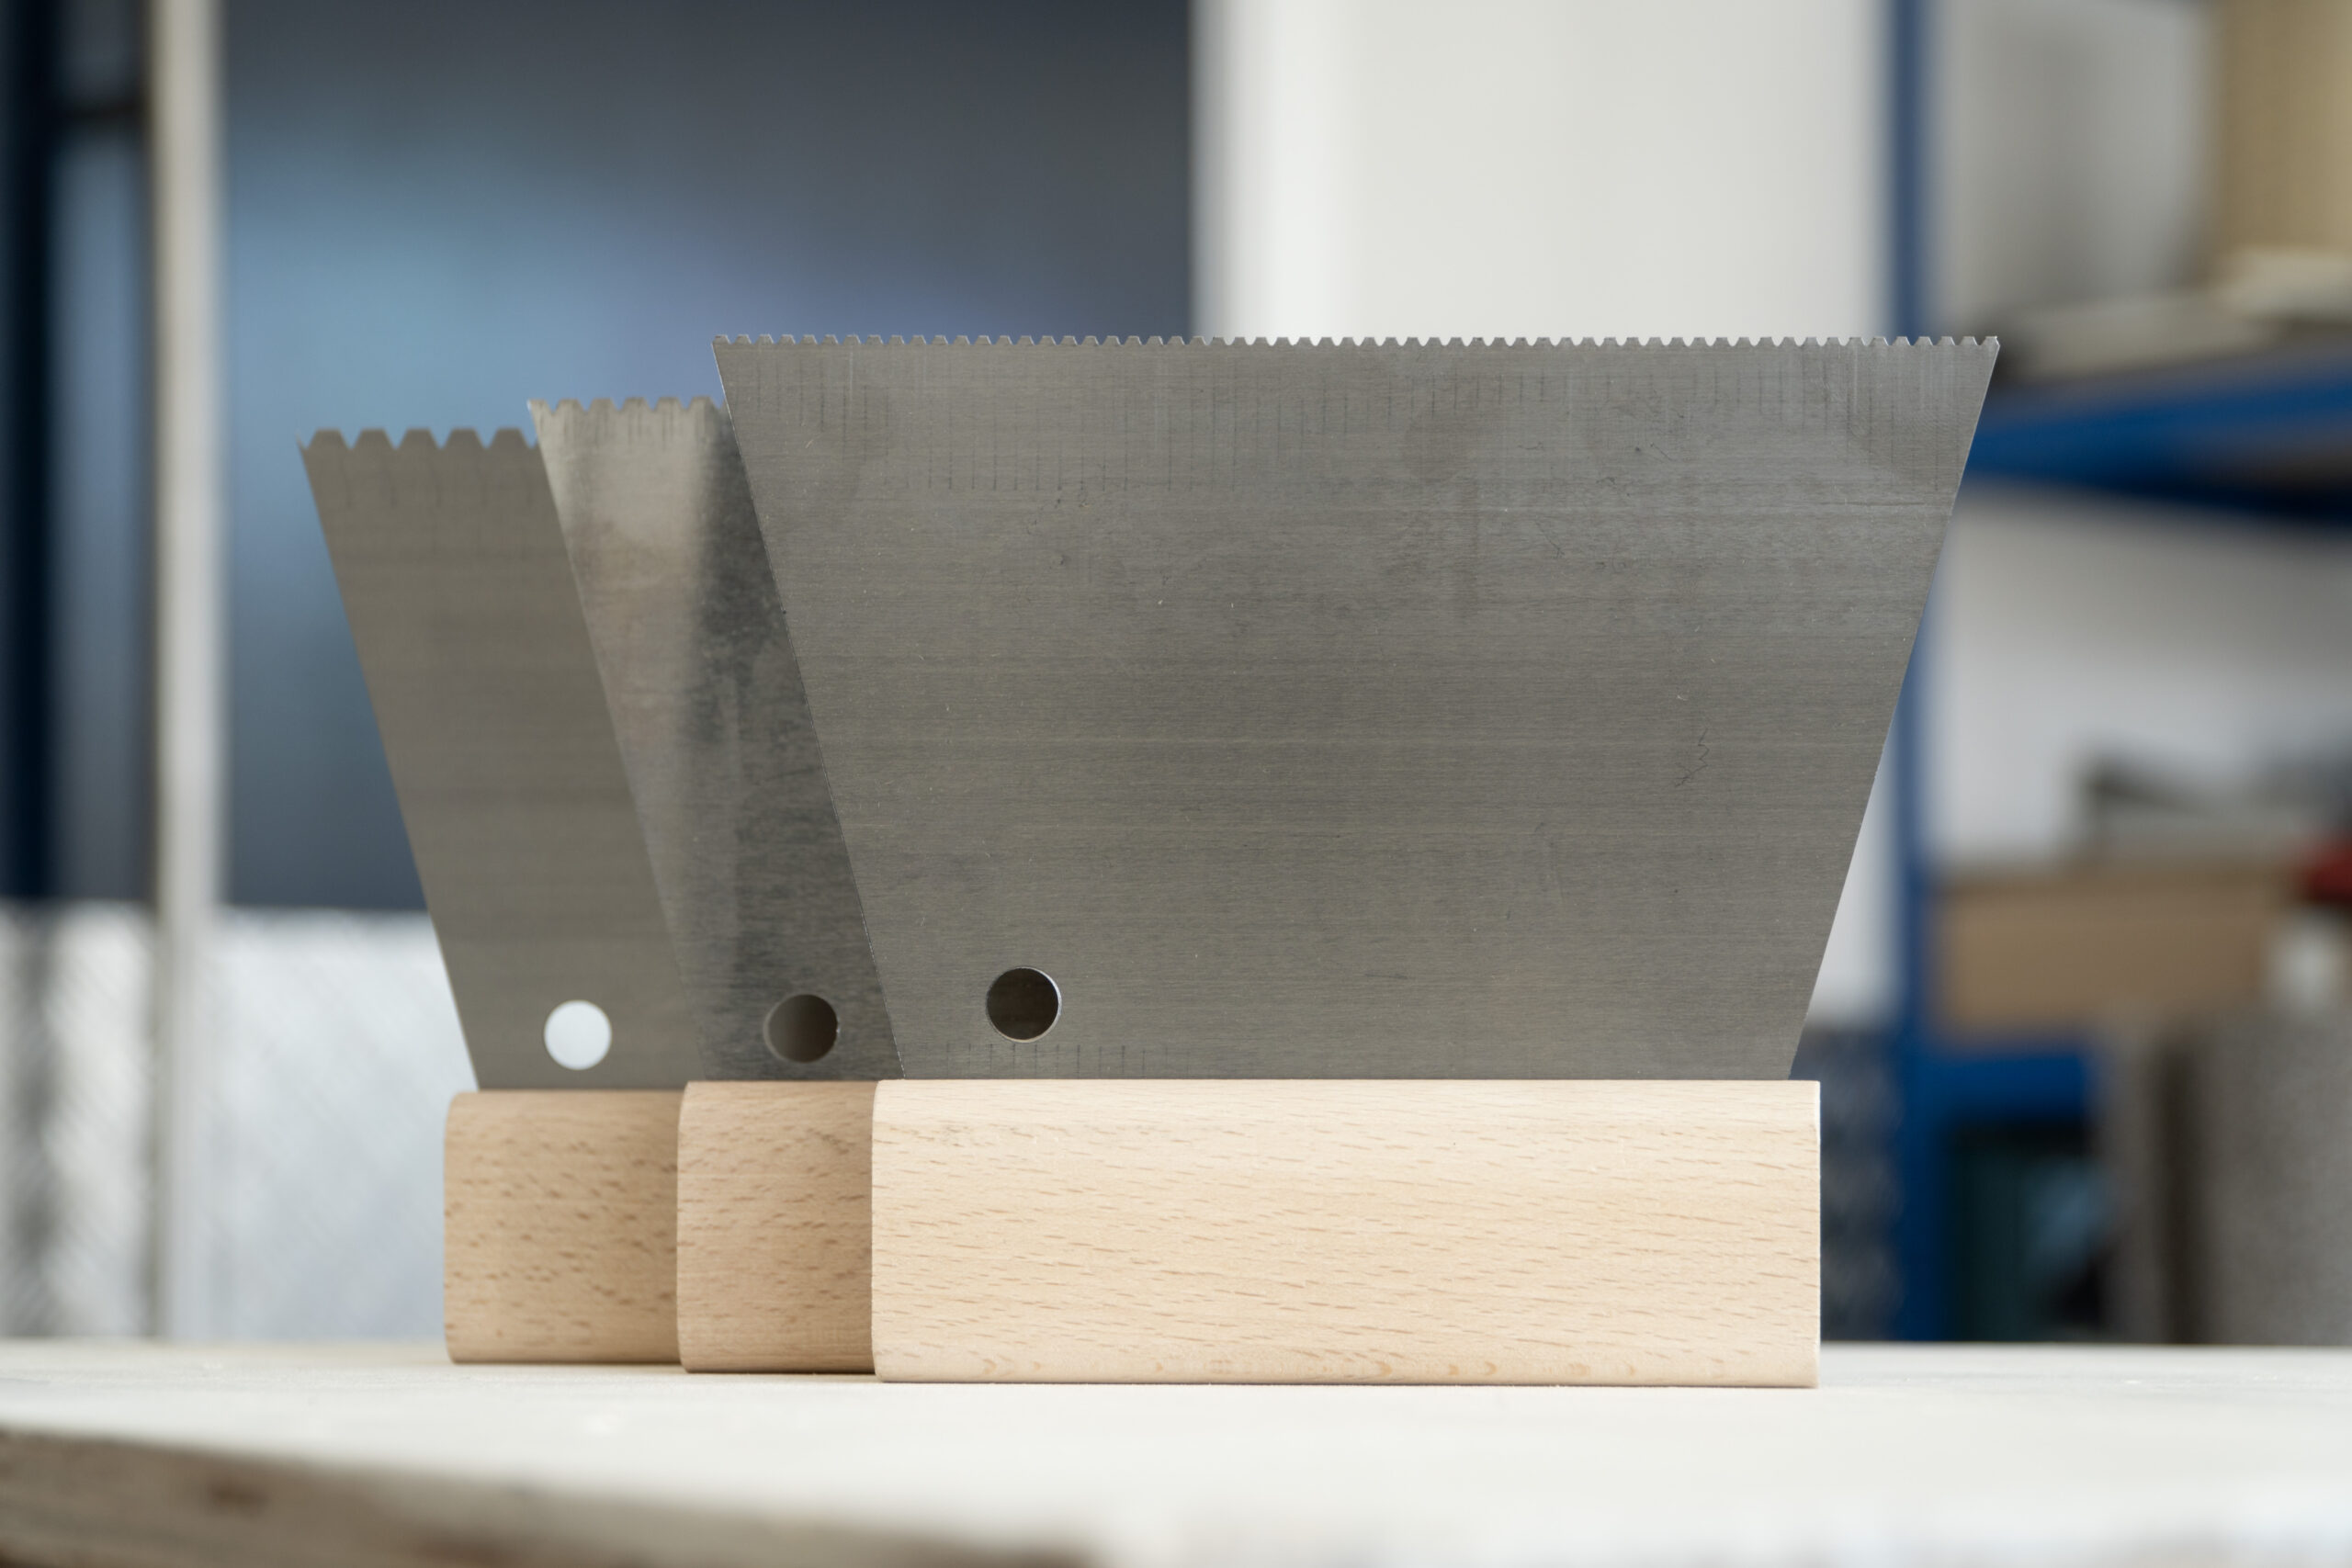
When installing floor coverings, selecting the correct trowel notch size for the chosen adhesive is a critical yet frequently disregarded consideration. The trowel notch size significantly impacts the adhesive bonding capabilities, consumption, durability, and final appearance of the flooring. Appreciating the importance of selecting the appropriate trowel notch size can save time, cost, and labour while guaranteeing an exceptional and enduring floor installation.
Ensuring proper adhesive coverage
The trowel notch serves as a crucial means of regulating the quantity of adhesive material applied to the substrate. Selecting an appropriate notch size for the trowel facilitates uniform dispersion of the adhesive, thereby ensuring complete coverage beneath the floor covering. Such uniformity is of critical importance as it prevents any potential for voids or gaps that could result in structural weakness. Inadequate adhesive coverage may result in tile dislodgement, vinyl bubbling or laminate separation, all of which could jeopardise the integrity and soundness of the flooring. This kind of ineffective application can occur when too much adhesive is applied, typically because the chosen trowel notch leaves excess adhesive on the floor. More commonly, however, it results from applying too little adhesive. This can be due to several factors. The most obvious cause would be that the notch is incorrect, making it impossible to apply the amount required. However, it can also be due to the wearing out of the trowel blade. Continually spreading adhesive onto hard floors will eventually wear down the notch, leaving less and less adhesive on the floor. The final, and likely less obvious reason is that the trowel is not being held at the correct angle. The angle of the trowel in relation to the floor should be a minimum of 600; anything less than this results in the gap between the trowel and the floor narrowing and too little adhesive being applied.
Maintaining even floor levels
Varying types of floor coverings necessitate different quantities of adhesive to achieve an even and level surface. Materials such as large-format tiles or timber products typically require more adhesive, particularly where a smoothing compound has not been applied beforehand. To accommodate the additional material or undulations in the floor, a larger notch size is required. On the other hand, thinner coverings necessitate only a thin layer of adhesive, which is best applied using a smaller notch. Utilising the appropriate trowel notch size is crucial in achieving a flat and even surface, minimising the risk of uneven tile heights (lippage) and ensuring a polished final result.
Accommodating different substrate types
Substrates, the surfaces onto which floor coverings are installed, vary widely in their characteristics and preparation requirements. Some substrates may be more porous, requiring more adhesive to ensure a strong bond, whilst others might be smoother and much less absorbent and would, therefore, require much less adhesive. The correct trowel notch size takes these factors into account, providing the appropriate amount of adhesive for the specific substrate type, thereby enhancing the adhesion and longevity of the flooring.
Enhancing Adhesive Bond Strength
The robustness of the adhesion between the substrate and the floor covering is pivotal to ensuring a long-lasting installation. The judicious selection of trowel notch dimensions facilitates the creation of optimal adhesive ridges that collapse and spread under pressure from the flooring material, optimising the adhesive-floor covering interface. This mechanism maximises contact between the adhesive and the floor covering, thereby enhancing the bond strength. Conversely, incorrect trowel size can result in either excessive or insufficient adhesive, which can compromise the adhesive’s ability to maintain a robust bond, leading to premature failures.
Preventing excess adhesive and cleanup
As mentioned previously, using a trowel with an incorrect notch size can also lead to excessive adhesive being applied. This not only wastes material but can also make the installation process messier and more time-consuming, as the excess adhesive can ooze out from under the tiles or planks. This surplus adhesive then requires additional cleanup and can even mar the finished floor’s appearance if not properly managed.
Speciality notches
In some instances, such as when applying conductive adhesives, the notch may perform a specific function as well as applying the correct amount of product. In areas where static electricity can be problematic, such as server rooms or electronics manufacturing, conductive adhesives are used. These contain fibres that take away the static electricity generated when walking to an earthing point. These adhesives only function correctly if the fibres within the adhesive are making contact with one another. Because of this, the notches are shaped to minimise the gap between ribs, ensuring the fibres knit together as the floor covering is laid into the adhesive.
Conclusion
In essence, selecting the appropriate trowel notch size is a crucial factor in ensuring a successful floor covering installation. It plays a pivotal role in guaranteeing a thorough adhesive coverage, consistent floor levels, versatility in accommodating diverse substrate types, improved adhesive bond strength, and prevention of superfluous adhesive application.
By determining the most suitable trowel notch size, tailored to the specific floor covering and substrate, installers can accomplish exceptional, long-lasting and visually appealing installations. Whether you are a seasoned professional installer or just starting out in your career, allotting time to choose the correct trowel notch size is a simple yet critical step that greatly impacts the overall outcome of your flooring project.


