When it comes to floor preparation and moisture testing in particular, I always refer to the 5 Ps – Perfect Preparation Prevents Poor Performance – to emphasise the importance of proper project build-up, including moisture readings and logging.
When I started in the flooring world, I invested in a Tramex despite not being able to afford it initially. I wanted to work to British Standards and differentiate myself from my competitors. I remember measuring up for a large domestic job and performing some extra testing with the Tramex. The customer was confused, so I explained my process in detail. By the end of our conversation, the customer said that I was the only one who had gone into such detail, and I won the job based solely on my moisture checks. Therefore, my first advice is to invest in moisture testing equipment. Let’s briefly discuss some equipment options.
Non-invasive testing is a widely used and readily accessible method of testing that comes with varying costs but is generally affordable. I strongly advocate for every company to have access to this type of testing as it provides a speedy indication of moisture presence and helps estimate project costs. These machines are user-friendly, with some featuring a simple traffic light system that turns green for dry areas. Others emit a noise that increases in frequency and volume as moisture levels rise. Overall, non-invasive testing is a straightforward and cost-effective solution.
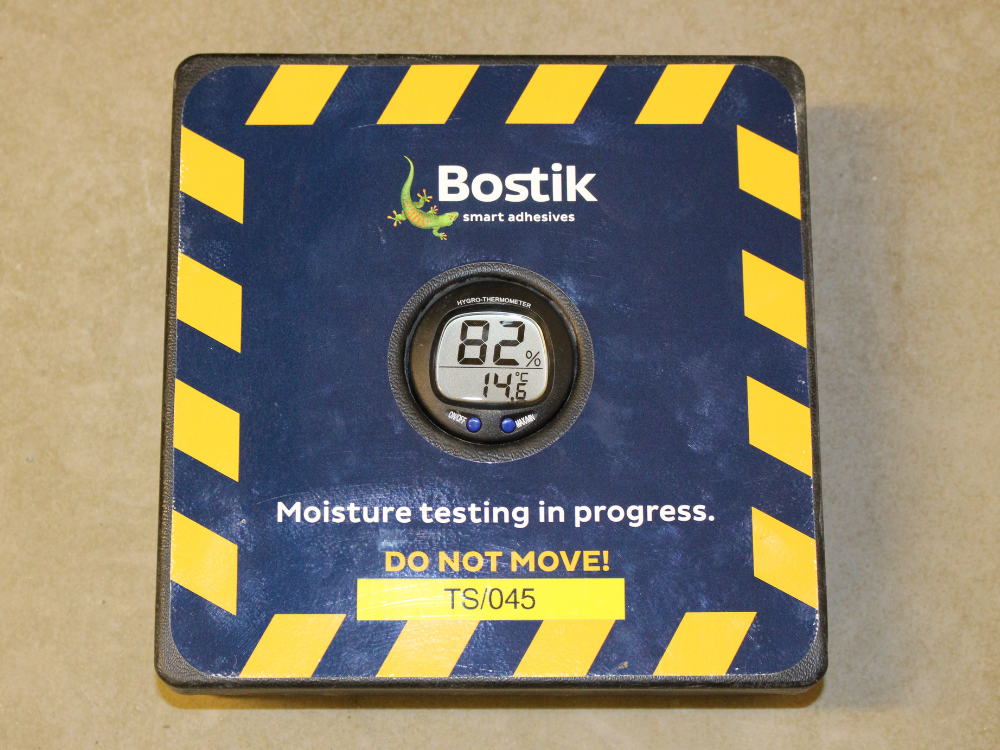
The hygrometer is an impervious, thermally insulated box which is sealed to the subfloor with a non-moisture containing adhesive, such as butyl tape, and with no voids or missing sections of adhesive.
Hygrometers can either record readings with a digital display, with older technology called hair hygrometers that have analogue dials, or by inserting an RH (relative humidity) probe into the void. All types read the RH content of the void underneath the hygrometer. All types of hygrometers are suitable for use; however, older types must be calibrated. Most importantly, the process is approved by British standards.
Electronic dials do not require calibration; however, they can drift over time. These can be sent back to the manufacturer for regular checks.
Tip on calibration certificates
Calibration certificates and the date this was performed can help avoid the readings being challenged by a client/contractor who does not want to make an investment in moisture mitigation products.
A hygrometer probe, also known as drill and plug, is another means of evaluating the floor, and is an accepted test by British Standards and the flooring industry in general. This test measures the RH content of a void in the same way as a hygrometer, but with the added benefit of achieving equilibrium quicker, resulting in faster readings of moisture content. However, there are some important points to consider, such as knowing the position of services in the substrate. We do not want to be drilling into a newly installed underfloor heating system, do we?! Other important points include vacuuming the dust out of the hole after drilling to avoid false positives, or capping the hole airtight after inserting the sleeve.
To perform the test, a hole must be drilled into the concrete or screed to a depth of 40% of the subfloor’s overall thickness. As mentioned, the inside of the hole must be cleaned and vacuumed before inserting the sleeve. After a minimum of 72 hours, a relative humidity reading probe is inserted into the sleeve and the reading is recorded after a minimum of 30 minutes. This process is repeated until two consecutive readings are identical, indicating that the trapped air is in equilibrium. It is important to note that taking readings too early can be inaccurate due to the heat generated by the drill bit and the need for time to achieve equilibrium. Personally, I find this method to be great – just make sure to check for pipes and other obstacles underneath!
Another method that I think deserves mention is a CM test, also known as a carbide bomb test. European Standards (EN) generally specify the use of the CM test in which the weight of the water in the removed slab is measured. A more difficult process, the machine gives different percentage values for different substrates based on the mass removed from the subfloor. CM testing is used in the UK, primarily on calcium sulphate-based screeds and/or polymer-modified screeds. One downside to the use of the CM meter is that very high moisture content can generate extreme pressure in the sealed chamber and releasing this gas can be dangerous. So, the CM test, alongside the hygrometer probe, are invasive/destructive.
There are more, diverse ways of how moisture can be read. For example, the gravimetric oven. It’s also worth noting that solid subfloors are not the only type of subfloor that can be moisture tested, as timber can be tested using different testing equipment and a different moisture scale. But I think these are the main ones practised in the UK.
So, the quickest/cheapest method to test for moisture and to comply with British Standards is to get yourself a non-invasive machine and a hygrometer, check for the wettest area using your handheld machine, and then apply the hygrometer to the substrate, making sure you log all your data.
Tips on drying times
Cementitious substrates typically dry at a rate of 1mm per day for the first 50mm, then 0.5mm per day for the remaining thickness.
Anhydrite/calcium sulphate-based screeds dry at a rate of approximately 1mm per day for the first 40mm, then 0.5mm per day for the remaining thickness.
I would like to finish with this. BS 8204: Part 1 states that it’s the installer’s responsibility to ensure that dryness and other design parameters have been checked before the floor covering installation is commenced. If you install a floor covering onto an incorrectly prepared, damp, or wet floor, you, as the installer, accept all responsibility.
Written by Shane Moore
