
In flooring applications, surface preparation is the key to success whether working with new installations or renovations of existing floors. From essential moisture testing methods to navigating the complexities of historical flooring materials, understanding these critical factors helps professionals ensure installations that maintain their integrity and appearance for years to come.
Understanding moisture requirements
Let’s start with moisture testing floors. Ensuring the moisture levels are within an appropriate range will help safeguard against potential issues, including bubbling within the new floor covering. The final floor covering will make the difference. For example, a wooden floor may require a drier substrate than one intended for a vinyl floor covering. The recommended moisture levels below are a good rule of thumb:
- Wood flooring requires RH levels below 65%
- Vinyl flooring requires RH levels up to 75%
Testing methods and equipment
Both hygrometer and CM (Calcium Carbide Method) testing are popular moisture testing methods and have their place in professional flooring assessment. CM provides immediate results by measuring the chemical reaction between moisture and calcium carbide, while hygrometer testing measures the relative humidity within the substrate over time, offering comprehensive data about the moisture condition throughout the substrate depth.
Special considerations for heated floors
Warm water underfloor heating systems should always be fully commissioned before accurate moisture testing of the floor can be done. Simply pressure testing the system is insufficient – the heat source must be in place and delivering the correct temperatures. A standard commissioning process includes:
- Gradual temperature increases over several days
- Maintaining maximum temperature for at least 24 hours
- Allowing the system to cool before testing
Working with plywood
Plywood makes an excellent substrate for flooring installations when correctly prepared. For optimal results, acclimatise the plywood in the installation environment for at least 48 hours. This helps prevent movement or warping after installation. It’s also important to use flooring grade plywood with a minimum thickness of 6mm, as this provides the necessary strength and stability. Secure the plywood firmly in place using screws, spaced at 100mm intervals along the joints and 150mm throughout the rest of the board.
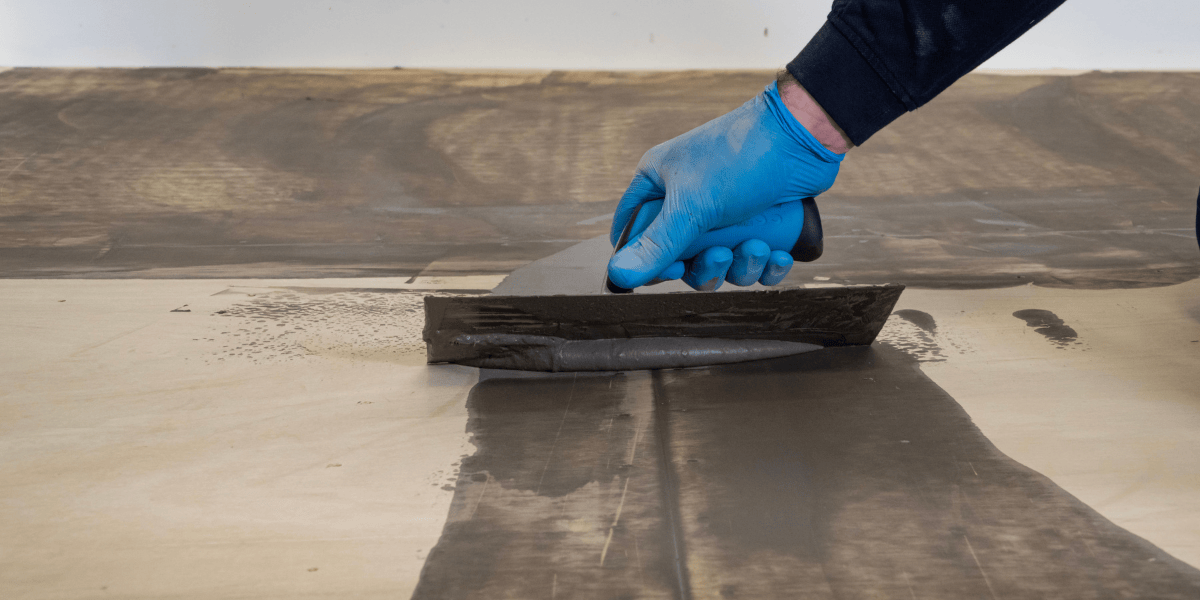
A rapid-drying floor repair and patching compound such as Bostik RENO C700 FINISH can also be used to prepare the plywood surface by filling joints and any fixing depressions within boards.
Magnesite refurbishments
Magnesite flooring was extensively used between the 1920s 1960s. Made from a mixture of calcined magnesite and magnesium chloride solution with various fillers (e.g., wood flour, sawdust, and even asbestos), it presents unique renovation challenges.
These floors were typically laid 10-25mm thick, though two-coat applications could reach up to 50mm in total thickness. No surface-applied damp proof membrane should be applied over magnesite as it will inevitably fail due to expansion of the organic fillers. As moisture vapor transmission is reduced, pressure builds up beneath the membrane, causing failure over time. The recommended approach involves complete removal of the magnesite and substrate replacement with appropriate damp proofing systems. An important safety consideration is that magnesite often contains asbestos fibres as filler, necessitating removal by licensed contractors.
Direct-to-earth subfloor refurbishments
Direct-to-earth subfloors dating before the 1970s commonly lacked damp proof membranes, creating ongoing moisture challenges during renovation projects. When these floors have historically been covered with breathable materials like carpet or wood blocks, moisture has been able to escape through the covering, creating an equilibrium that may have masked underlying issues.
During renovation work, it becomes essential to always install an epoxy damp proof membrane before applying new floor coverings, especially non-breathable ones like vinyl. Before installation, thorough moisture testing throughout the floor area helps identify potential problem zones that may require additional treatment.
Granwood refurbishments
This specialised flooring material, first produced in the late 1920s, remain present in many older educational and commercial buildings throughout the country. Manufactured using a distinctive blend of sawdust, clay, and linseed oil, Granwood has specific limitations that affect renovation approaches.
One critical characteristic is that Granwood cannot tolerate rising damp, which makes it unsuitable for covering with non-breathable floor coverings that would trap moisture within the composition material. The recommended approach involves complete removal of the Granwood flooring and reinstating the original floor level where appropriate. After removal, the base should be mechanically prepared to remove weak and friable material liable to impair adhesion. However, contractors should proceed with caution, as these bases were often bonded with thin sand/cement slurry beds or bitumen adhesives that may contain asbestos. This potentially hazardous composition necessitates specialist removal procedures by qualified contractors who can ensure proper safety compliance and appropriate disposal of materials.
Professional assessment and support
With today’s array of screeds and board types, knowing exactly what base substrate you’re working with is essential for successful flooring installation. Following the technical data sheet recommendations ensures correct application methods for your specific situation.
When facing uncertainty, manufacturers like Bostik offer valuable on-site inspection services that include professional moisture testing, substrate analysis, and tailored product recommendations. Taking advantage of these services can prevent costly mistakes and ensure your preparation work creates the best foundation for the selected floor coverings.
